Welcome to the second edition of our series of step-by-step guides on how to use Daniel's Plants Naked (biodegradable) Pots to start your summer vegetable garden. Today, we'll be doing tomatoes, using our larger 4-inch round pots.
This tomato how-to guide is a great opportunity to use our largest size of biodegradable pots, the 4-inch round ones.
First, find a spot indoors that gets a lot of natural light and stays fairly warm (15-20 degrees Celsius/60-68 degrees Fahrenheit). If you don't have a spot like this, you may want to invest in a grow light and a seedling heat mat for faster growing and proper germination.
Step 1. Gather materials, soil, and seeds
Materials used in this planting guide:
- Daniel's Plants biodegradable 4-inch round pots
- Nutritious potting soil with good drainage
- A small watering can
- Gardening tools (soil scoop, seed planting tools)
Step 2. Set up the biodegradable pots on your gardening table or work surface.

Step 3. Fill the pots with potting soil. Fill the pots up till about ½ inch from the tops - this makes them easier to water later on.


Step 4. Use a tool to make a small indent where you want to plant your seeds. In this case I had a very handy planting kit to help with this. You want to make sure to not plant your seeds too deep. For tomatoes, we plant them approximately a quarter inch deep.


Step 5. Cover up your seeds and pat them down gently to make a good seal on top of the seeds. Again, make sure your seeds are not covered too deeply - we're looking for about a quarter inch coverage on top of the seeds.

Step 6. Water gently. This will settle down the soil slightly and make a good seal and make sure that the seeds start to absorb moisture and start their germination process. Make sure not to over-water or your soil and seeds will float away.

Step 7. Now we wait! Keep the top layer moist for the seeds to germinate. Consistency in watering is key - you don't want to over-soak but you do want to keep the top moist. A spray bottle can help with this too. Just giving soft sprays every day or two depending on your environment and humidity will work well.

Step 8. Once your seeds have sprouted, give them fewer regular waterings, but deeper soakings. Tomatoes don’t like to dry out too much - their leaves will become wilted if they dry out too much. I like to let them dry down so the top layer of the potting soil is dry and then give them deeper soakings every few days. Watering will also depend on the heat and humidity levels in which you're growing.

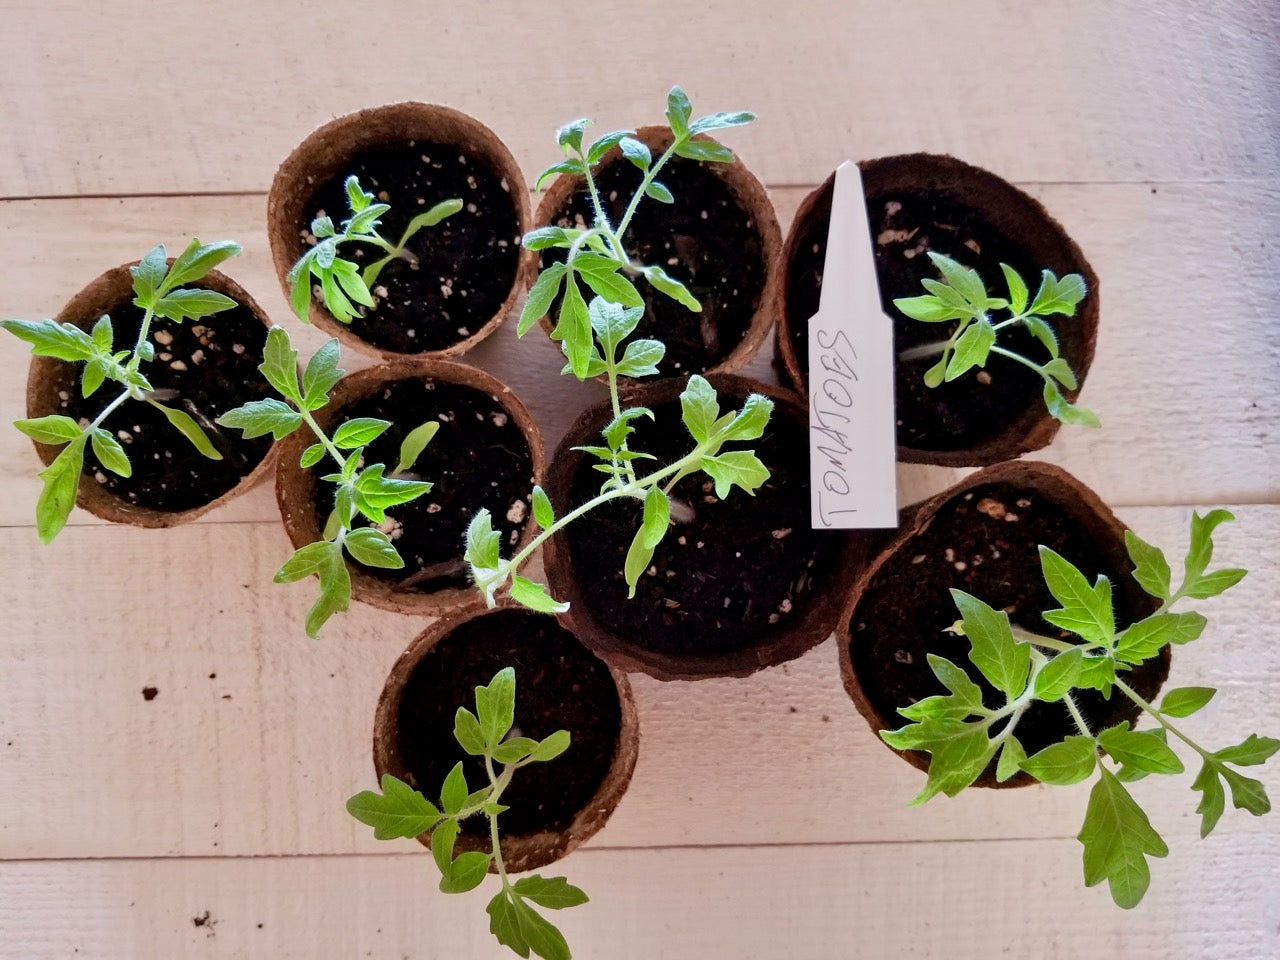
Step 9. Transplant into your garden or planter! Once your tomato or vegetable plants have sprouted and matured a bit, you’ll start to see the roots starting to grow through the pots. At this point, you can transplant them right into your garden. The roots will grow right through the biodegradable pot and the plants will keep growing with no transplant shock!

With a bit of patience, you'll soon have these!

1 comment
Very helpful for the new kitchen gardener, specially who like to grow tomato in balcony/ roof garden. Please post the next steps for growing tomatoes successfully in containers including how to make potting mix and use of organic fertilizers time to time. Thanks.